Jump to content

Photo

RS3 8V: One step at a time


535 replies to this topic

#1
Shaunee

Shaunee

    Valued Club Member

  • Valued Member
  • PipPipPip
  • 609 posts

Anyone that knows of me via my previous Subaru and A45 project threads will appreciate I like to delve that little bit deeper with my project threads, at least in respect of the kind of testing and information I like to gather and share.  I aim to ensure this RS3 project thread is no different.


What I aim to do is go into detail about what’s being done, why it’s being done and be utterly truthful about the results, supported by as much evidence as possible.  I’m not going to state I’m looking to reinvent the wheel, but there is no harm in aiming to make a wheel better!  I’m quite excited with the potential development areas that could be investigated.


I’m a “privateer” and enthusiast, so have nothing to gain from this…… other than I absolutely love doing this kind of thing, and love to learn and experience new things.  If at least one other person finds this project interesting…… that’s a mega bonus!


My previous performance car was an AMG A45, which after going through a modification project, ended up being the quickest A45 down the drag strip in the UK.  Didn’t break any “real drag” records, but it achieved a decent time of 11.80s. Not bad considering it was a hatch with pretty basic levels of tuning.


So… A45 move over.  Here’s the RS3!


Why did I swap out for an RS3 then?


Being totally honest….. the limited tuning available for the A45, with the Achilles heel being the transmission.


I went out and bought an RS3, pretty much fully loaded…… the kicker being that based on what has already been done with the 2.5 engine, pretty extensive levels of tuning are available.  Just up my road then! Lol


Approach - Project Roadmap

Obviously I can’t do this on my own, as the amount of resources needed to do this kind of project approach justice, is more than my brain, skill and hands can cope with.  So I’ll be working with a number of “professionals” along the way, but more on that once we get things underway.


The areas I would like to cover/investigate are (we’ll have to see if all these come to fruition - although certain areas have already been discussed with the individual's I’ll be working with):


Tuning Box

Secondary Decat pipes

ECU remap

Uprated plugs

Look at intercooler and inlet efficiencies at this level, look at testing upgrades if warranted

Turbo (along with remap and again looking at intercooler and inlet efficiencies).


End target is at least 500bhp - ideally looking to get in the 10’s down the strip, but this will probably need quite a bit more than 500bhp - we’ll see how this all goes.  


This is all very very high level, but gives an idea of the kind of steps I’ll be looking to take.  Depending upon how the car reacts, I may look at chassis / suspension / braking mods. I will also be undertaking some subtle styling mods... just to jazz things up a touch. Nothing too "Halfords" though.... don't worry!


So…. that’s enough of the introductory stuff.


The next update will be coming your way soon - so let the fun begin guys.  First round of performance mods and testing will be starting at the end of August.


I really hope (and encourage) for you all to get stuck in and feel free to contribute to this open discussion thread.


#2
EddieRS3

EddieRS3

    Valued Club Member

  • Valued Member
  • PipPipPip
  • 326 posts
Good luck mate and I'll look forward to reading up on it !

RS3 8v On Order - Sepang / Dynamic Pack / Comfort & Sound / Black Styling Package / Titanium Rotors / SSS / Advanced Key / Tech Pack / Hill Hold


RS3 8v Collected! - Glacier White / Dynamic Pack / Technology Pack High / Comfort & Sound / Black Roof Rails / Black Styling Package / Red Calipers / Hold Assist / SSS / Reversing Camera / Privacy Glass / Titanium Rotors


#3
Shaunee

Shaunee

    Valued Club Member

  • Valued Member
  • PipPipPip
  • 609 posts

Styling Mods

So before we delve into the performance side of things I thought I would make a start with completing a few subtle styling mods.


Whilst we all know what an 8V RS3 looks like, here are a few pictures of mine as I picked it up from Audi.


frontstock.jpg


sidestock.jpg


rearstock.jpg


Obviously beauty is in the eye of the beholder, and the RS3 styling takes a bit of a battering from some.  In my eyes (well… I do wear glasses!) the RS3 (as with the rest of the RS range, R8 to one side) is pretty much a Q car.  Understated, but does what it needs to from a performance perspective.


Based on the previous performance cars I’ve owned the RS3 is quite understated…. but I like that.  It’s a change for me and quite a pleasant one. However, I thought I would add a few minor changes….. perhaps not to everyone’s taste but they are what they are.


Wing Mirrors

As you can see from the pictures above, my car originally came with the standard matt silver wing mirror covers.  I wanted to change these to either black or carbon.  Yes, I appreciate there were other options for different colours from Audi, but this car was dealer stock, so I made do with what I had.


(Thanks to Arcam for pointing this out afterwards - Make sure if you have side assist, that you purchase the correct aftermarket mirror covers.  If you have side assist you'll need covers with matching windows on the side - as per your OEM covers)


I managed to get some carbon ones off eBay for £100, which was cheap, but they used OEM covers and had carbon fibre layered on.  I thought for £100 it was worth a punt.  After a speedy delivery they turned up.  The quality was very good…. I was impressed.


covers.jpg


I had heard conflicting stories as to how you could remove the outer covers, with and without taking the whole assembly apart.  After a thought process upon receiving the new ones, and seeing where all the lugs were located, I decided to have a go at removing the OEM covers WITHOUT taking the assembly apart.


The way to do this is by inserting a credit card (or equivalent) where you see in the picture below.


covers-step1.jpg


Once you’ve pushed the card in far enough, you’ll see that the clip in that area will release.


If you then move the card to the right of the picture, you will start to release further clips.  You then need to move the card all the way to the left.  Once done, you should notice the right hand side starting to come away from the mirror assembly.  You can then move the card up that vertical side to further release the cover.  Finally give the assembly on the right hand side a slight pull and it should really start to open up.


covers-step2.jpg


Now comes the bit where you need to be careful, but slightly forceful at the same time.


Whatever you do, do not pull the cover up.  There is a horizontal clip at the left hand side (closest to the car), which will break off if you try to pull the cover up and off.  You need to pull the cover into you from the front, gently but with a short / sharp action.  It will just come off if you do this and all the clips will be retained.


Once the cover is off you’ll be left with the assembly behind the cover…… and no broken clips (if you do it correctly).


covers-step3.jpg


The first mirror took me about 10 minutes as I was doing everything carefully to find my way around each clip.  The second mirror took me about 2 minutes.  I didn’t break a clip on either OEM cover.


The next bit is really easy….. you just push the new cover on, exactly how you removed the OEM cover.  It clips straight back into place.


covers-step4.jpg


As I said, quality is top notch and for a £100 they were very good value.


They have the desired effect, especially with the car being Daytona….. Looks quite stealth with black trim.


covers-step5.jpg


Edited by Shaunee, 24 August 2016 - 05:43 PM.


#4
Shaunee

Shaunee

    Valued Club Member

  • Valued Member
  • PipPipPip
  • 609 posts

Audi Rings

You might start to see a pattern as to where I’ll be going with this car…. external styling wise.


Next up was to replace the front and rear Audi rings with a black ring set.  Now, I could have tried the plasti-kote method, but I decided to opt for replacement badge sets.


Again, eBay can be your friend here.  I bought this set for just under £20 for the front and rear.  You need to be careful ordering the correct front badge, as I understand the 8V badges are slightly bigger than the previous cars.  You may also (if you’re eagle eyed) notice the smaller rear rings are slightly smaller than the OEM ones.  This isn’t an issue, but there is a difference…. just so you’re aware.


rings-step1.jpg


Rear Rings

I started off with replacing the rear ring set.


These are bonded on to the boot lid with adhesive, so using a hairdryer (the Mrs’ not mine as I haven't any hair!) I heated the rear badge, and then slid a credit card (same trick as with the mirror covers) between the badge and the boot lid skin to break the seal.


rings-step2.jpg


rings-step3.jpg


Making sure you keep applying heat, keep repeating this process around the whole badge.  I wouldn’t recommend you start to pull the badge off straight away…. you’ll probably end up snapping it.  Just take your time.


Once you’ve removed the badge you will still be left with residue from the glue.


rings-step4.jpg


At this point I continued to apply heat and pulled off further what I could.


rings-step5.jpg


#5
Shaunee

Shaunee

    Valued Club Member

  • Valued Member
  • PipPipPip
  • 609 posts

With the last bits of glue left I then turned to using some glue / tar remover (TARDIS).  I’ve used this for many years to remove tar from the sides of cars and glue from vinyl car stickers.  This emulsifies with water, so is really easy to rinse off.  You don’t want any wax or cutting agents left on the panel prior to putting your new badge on.


rings-step6.jpg


After liberally applying TARDIS and cleaning / rinsing the panel, it was all clear / clean and ready for the new badge.


rings-step7.jpg


To ensure I put the new badge on square I measured and placed a masking tape line (with a centre position) on the boot lid and offered up the new badge before final fitment.


rings-step8.jpg


After I was happy with the positioning I then stuck the new badge on, peeling off the backing to the new adhesive layer on the new badge.  Personally I always gently heat the adhesive…. not too much, but just enough to help the bonding process.


rings-step9.jpg


Edited by Shaunee, 14 August 2016 - 04:47 PM.


#6
Shaunee

Shaunee

    Valued Club Member

  • Valued Member
  • PipPipPip
  • 609 posts

Front Rings

Next up was the front ring set.  Again I had heard conflicting stories about removing these.  Some saying you needed to remove the front bumper, others saying you can reach down from the top and get to the clips and one other I saw said you could remove from the front.  I chose the latter!


In my opinion I would not advise you try to remove the rings from the front (without taking the bumper off) unless you have suitable trim tools, spudgers etc.  You’ll either risk snapping the oem badge or damaging the badge grill surrounds.


Using a trim tool start from the bottom.  With your new badge as a guide, you’ll see exactly where the securing tabs are and this is where you need to feed the trim tool in to push the tabs back.


rings-step10.jpg


As you pop the bottom clips you’ll see the badge coming away from the grill.


rings-step11.jpg


Once you’ve released the bottom and lower side / centre side clips, then move to the top clips.


rings-step12.jpg


This is the first time I’ve done this and it only took me around 10 minutes.  Just to prove I never broke any clips, here is the underside of the OEM badge.  There was zero damage to the badge / grill surround either.


rings-step13.jpg


Edited by Shaunee, 14 August 2016 - 04:50 PM.


#7
Shaunee

Shaunee

    Valued Club Member

  • Valued Member
  • PipPipPip
  • 609 posts

Once removed you’ll be faced with the grill ring mount, which will need a minor clean up prior to fitting the new ring set.


rings-step14.jpg


Mounting the new ring set is easy.  Just push it on ensuring all the clips are engaged correctly.


Much like the mirrors, I really like the look of the all black trim set.  Makes it look stealth, but also aggressive…. not everyone’s cup of tea I’m sure.


rings-step16.jpg


rings-step15.jpg


So for the time being that’s the first round of styling mods.  I’m planning to do a few more things, but I’ll discuss this as and when I get to do them.


Edited by Shaunee, 14 August 2016 - 04:51 PM.


#8
monopole

monopole

    quattrophenia

  • Banned
  • PipPipPipPip
  • 1,150 posts
  • LocationLimbo
So much detail, bravo 👏

MY16 Glutorange RS3 - how the hell did you not see me coming!


"always do what you always did and you'll always get what you always got"


#9
RS Mad Fan

RS Mad Fan

    Valued Club Member

  • Valued Member
  • PipPipPip
  • 386 posts
  • LocationWest Midlands
Loving this thread, so much detail which will help me and a few novices.

From the World of Mugello

RS3 - Mugello Blue Pearl, Dynamic package, Body coloured & folding door mirrors, High-gloss black styling package, Privacy glass, Advanced Key, Super sports seats (Black with contrasting stitching in Rock grey) with RS 3 embossing, Titanium matt finish alloys. :D


#10
Arcam

Arcam

    Member

  • Banned
  • PipPip
  • 282 posts
  • LocationRochdale

So much detail, bravo 👏

+1

Sent from my SM-N910F using Tapatalk

#11
Oli

Oli

    Valued Club Member

  • Valued Member
  • PipPipPip
  • 496 posts

Top work.


Do you have link for the badges and mirror covers please?


www.bmvs-camperhire.co.uk - VW California hire

www.bmvs.co.uk


#12
Shaunee

Shaunee

    Valued Club Member

  • Valued Member
  • PipPipPip
  • 609 posts

Top work.


Do you have link for the badges and mirror covers please?


Sure thing sir.


Badges: http://www.ebay.co.u...=STRK:MEBIDX:IT


Carbon mirror covers: http://www.ebay.co.u...=STRK:MEBIDX:IT


#13
Rs3owner

Rs3owner

    Elite Club Member

  • Valued Member
  • PipPipPipPip
  • 1,550 posts

Sure thing sir.

Badges: http://www.ebay.co.u...=STRK:MEBIDX:IT

Carbon mirror covers: http://www.ebay.co.u...=STRK:MEBIDX:IT


I did read your full a45 build just by chance and it made for good reading , I have this one is as good !

And welcome to the club , it's a nice looking motor !

#14
Alex

Alex

    Member

  • Valued Member
  • PipPip
  • 90 posts
  • LocationMilton Keynes
Amazing steps so far. Please keep it up. Look forward to the next things
2016 panther Black RS3
Gloss black pack,Privacy pack,Sound and comfort pack,Dynamic pack,Super sport seats

#15
Shaunee

Shaunee

    Valued Club Member

  • Valued Member
  • PipPipPip
  • 609 posts

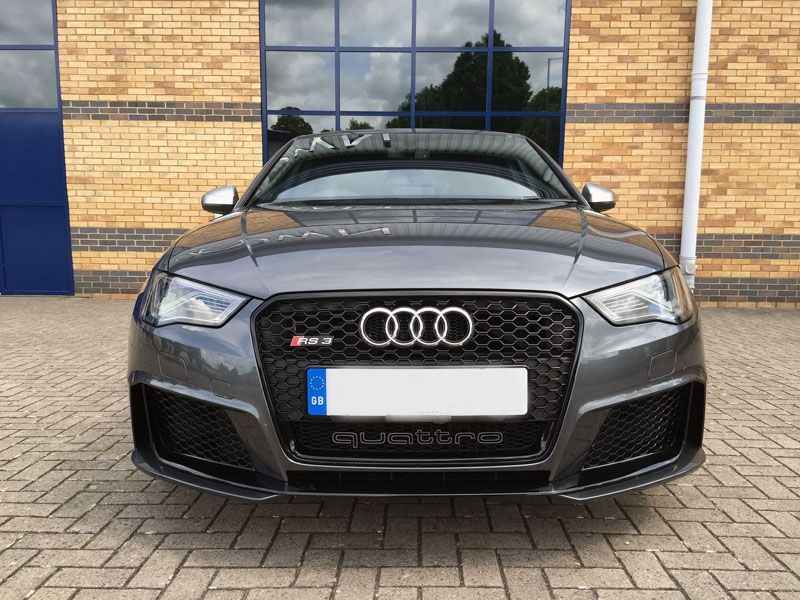
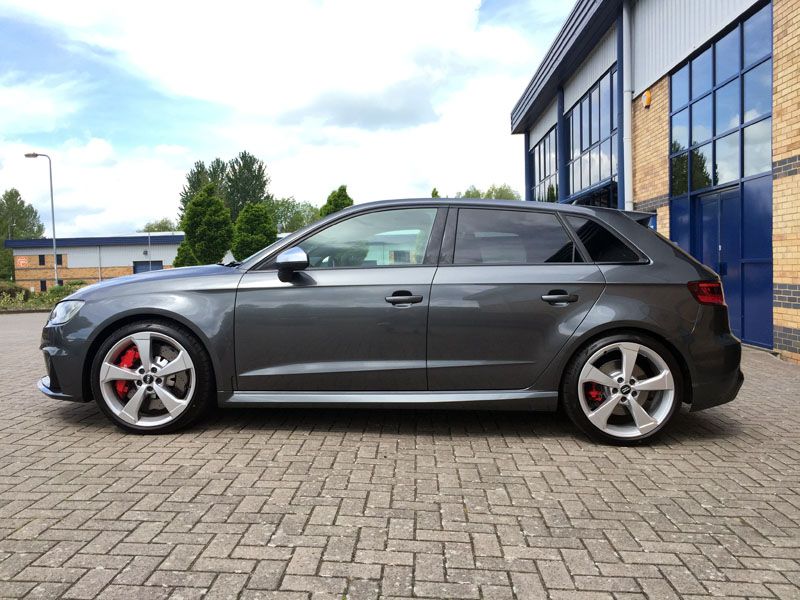
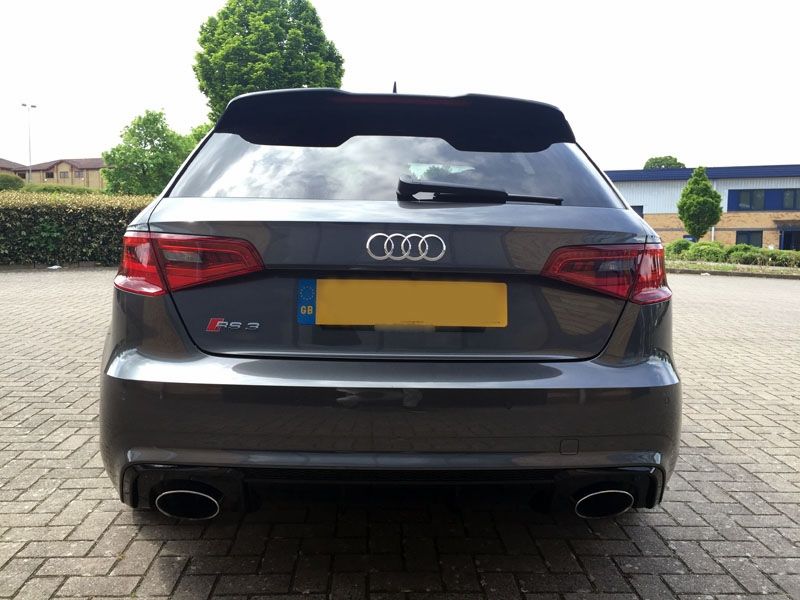
Stock Power Performance Benchmarking

Whilst this piece of benchmark data will be quite specific, it will give a baseline for where the car is at the moment in its stock state.  As I progress I will be gaining more data, not just from the drag strip, but also from getting VBOX logs for acceleration and in-gear performance.  I have a lot of data from my previous A45 (which will be a good comparison), together with other RS3 data I have from a REVO tuned Stage 1 and MRC Stage 3 car.  I’ll be overlaying and all sorts, so this will be interesting moving forward.  Of course I’ll also gather dyno information as I progress… again, I can overlay this data against my A45 for comparison.


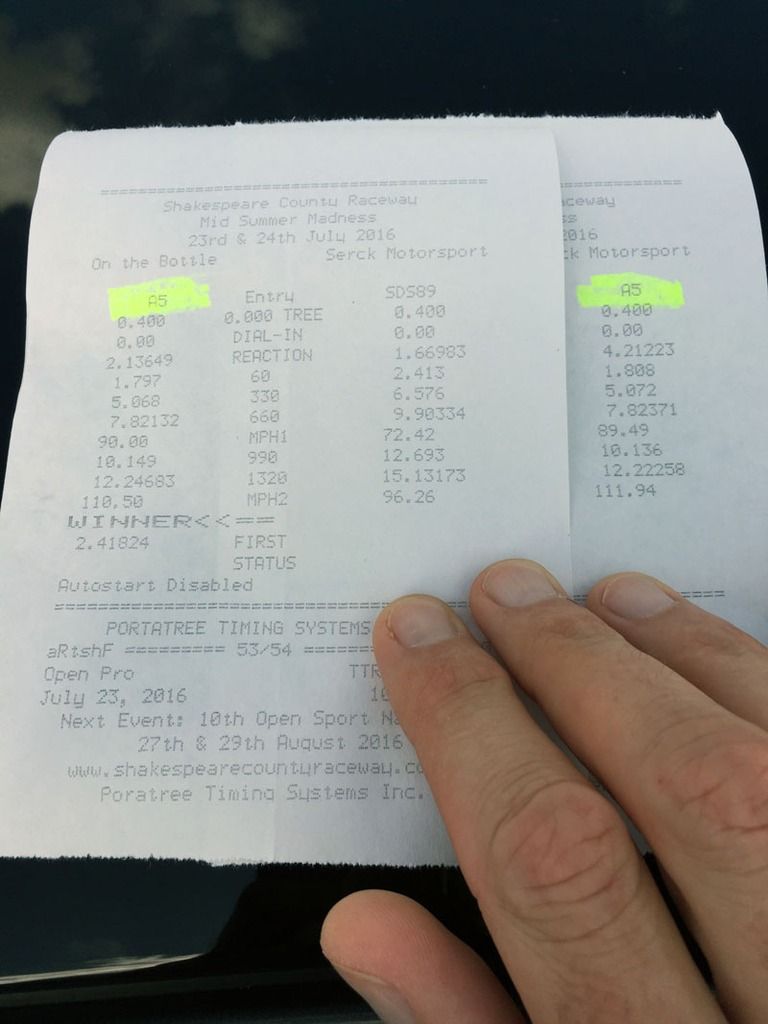
Shakespeare County Raceway

So three weeks back, after running the car in (just over 1k on the clock), I ventured down to Shakespeare to see what my stock car would do.  Obviously the engine would still be fairly tight, but I needed to get some baseline data in.


As they say….. The bullshit stops when the flag drops.  You’ll hear me repeat that quite a few times throughout this project thread!


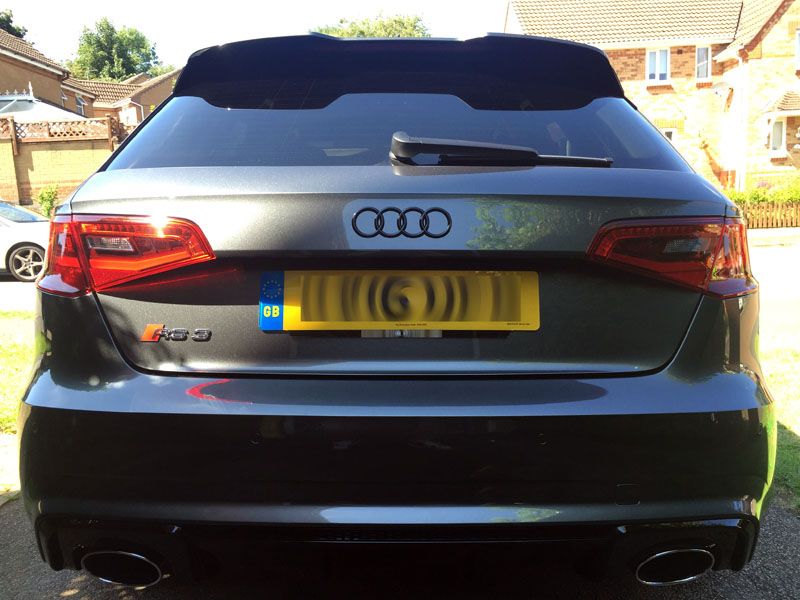
I haven’t had the car on the weighbridge yet (will do though) but it is pretty highly spec’d, at least in regards to the “added weight” options! Lol  Good for the gadgets…. Not so great for acceleration.


I personally prefer Shakespeare as it’s normally quieter than the Pod…. this day was no exception.  


It was a warm day, circa 24degs and little to no wind.  The downside was that the track had not been used in a few weeks and it had been raining the day before.  Surface prep is key at these places.


I don't really like running early on, especially when no events were the previous day.  You tend to find the start line will be a tad "waxy" until some rubber goes down and the track heat starts to build up a bit.  


I understand that the RS3 suffers with intercooler issues in warm weather (the A45 charge cooler was unbelievably efficient and effective), so to some degree I wasn’t expecting the car to perform it’s best.


After signing on you need to get your car scrutineered.  Not something you need to do at Santa Pod. The rules are the rules though! Lol  Thankfully being a new car, it didn’t take long.  The scrutineers laughed when they found out how many miles were on it.


Once scrutineered you’re given a running number, which is painted (don’t worry it comes off) on your back screen.  Well, they gotta know which car to log the times against.


step1.jpg


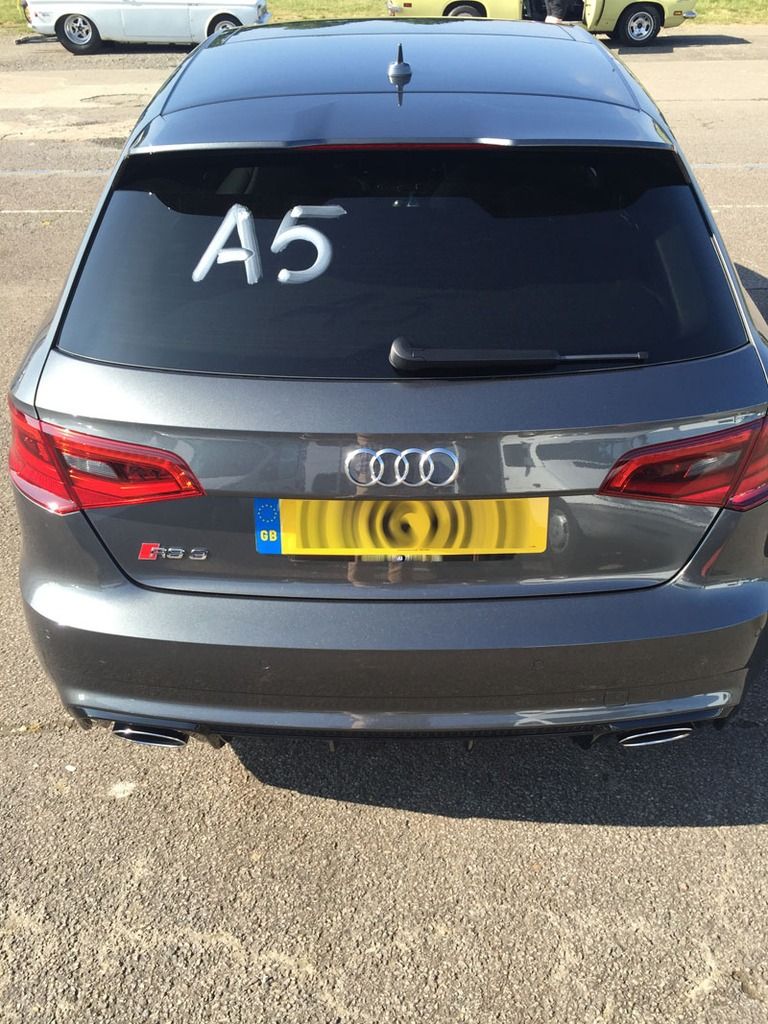
It was a shame I didn’t arrive a couple of minutes earlier…. I could have bagged “A3” as my number!!!!


So with the car ready, I went down to the “fire up lane” in readiness for my virgin run in the RS3.


step2.jpg


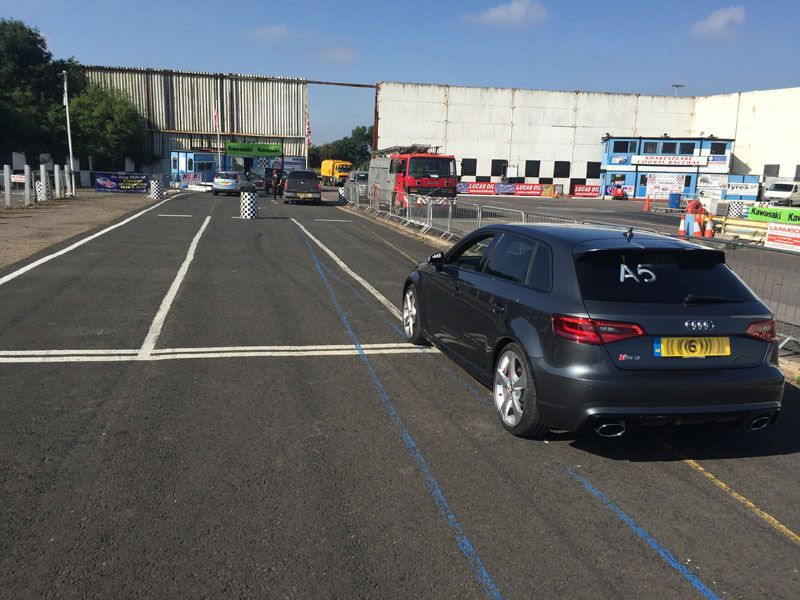
Yes… I was first in line.


First run 12.22 @ 111.94mph

Believe it or not this was the first time I had actually launched the RS3.  I was a bit nervous I was going to balls it up, but unlike the A45 LC, the RS3 is so much easier to set-up.  And unlike my A45, the RS3 just gripped and went like a stabbed rate off the line.  Christ the LC on the RS3 is smooth…. Like so smooth.  The gearbox as well is a country mile better than the Mercs on the strip.  The whole run just went ahead with no drama….. It felt good, which the time and terminal speed showed.  This is pretty damn quick for a stock hatchback.


Second run 12.24 @ 110.50mph

Felt just as good as the first run….. How’s the time for consistency. Lol  Not sure why the trap speed had decreased… could have been heat soak perhaps.


Now normally I’d be getting really anal and checking / playing with tyre pressures (lowering pressures can aid launch grip), but since this car just launched with no wheel spin or axle tramp, I really didn’t see the need to faff around with anything.  The 60ft times back that up with a good 1.79s and 1.80s respectively.


Quite abnormal for me I decided at this point to hand in the gloves.  I was happy with those times with a stock car, and as they were so close on both runs, I didn’t think there was much point in further runs.  In reality I should have parked the car up and ran later on in the day, once more rubber had been put down…. It may have helped.


step3.jpg


Santa Pod

This weekend I decided to take the car down the strip again….. Just for a bit of fun of course!  This time though I was going to use the UK’s de facto drag strip.  Santa Pod.


The reason for going in reality was I wanted to see if I could better the previous 12.2 and also try a different launch technique to see if I could bring the 60ft time down.  Improving the 60ft time can have a dramatic affect on the ET’s.


Luckily the day was dry, sunny but was once again warm.  Certainly felt warmer than the 25deg ambient suggested.  The event was pretty busy as well.  Not great and something I don’t really like about the Pod…. it tends to get very busy, which means you spend a lot of time queuing for your next run.  Not ideal by any stretch.


I actually didn’t arrive until lunch time, but I had already heard via whatsapp that the track appeared to be running slower than normal (based on the times that other guys were getting - not in RS3’s mind).  There was also a cross wind…. again pretty normal for the Pod.


First run 12.53 @ 108.73

For the first run I launched as I had previously as Shakespeare, using Sports mode on the ESC.  It felt good and smooth….. Until I saw my timing slip. Christ that wasn’t good at all. Lol 60ft wasn’t brilliant at 1.82s, but certainly nothing that made me think that was the reason for the slower ET.


Second run 12.44 @ 109.65

Due to the amount of cars running and I did rejoin the queue straight away, I had to wait nearly an hour for the next run.  I forgot to take my OBD logger with me, but my charge inlet temps must have been sky high.


This time I tried launching with the ESC OFF.


As soon as the car launched it lit the front tyres up and I had slight axle tramp.  Because of this I thought the run was not as good, but it certainly bettered the previous run.  The 60ft time had dropped to a good 1.75s, which was where I really wanted to be.


Third run 12.34 @ 111.25

Again, well over another hour had passed before getting my third run in.


For this run I went back to the ESC in Sports Mode, just to see what would happen to the 60ft.  It went back up to 1.83, but the overall run was quicker and with a better trap speed.  Not sure if the track was starting to improve or what.


Anyway… it was now just before 4pm and I didn’t think there was much more reason to carry on, so I called it a day.


step4.jpg


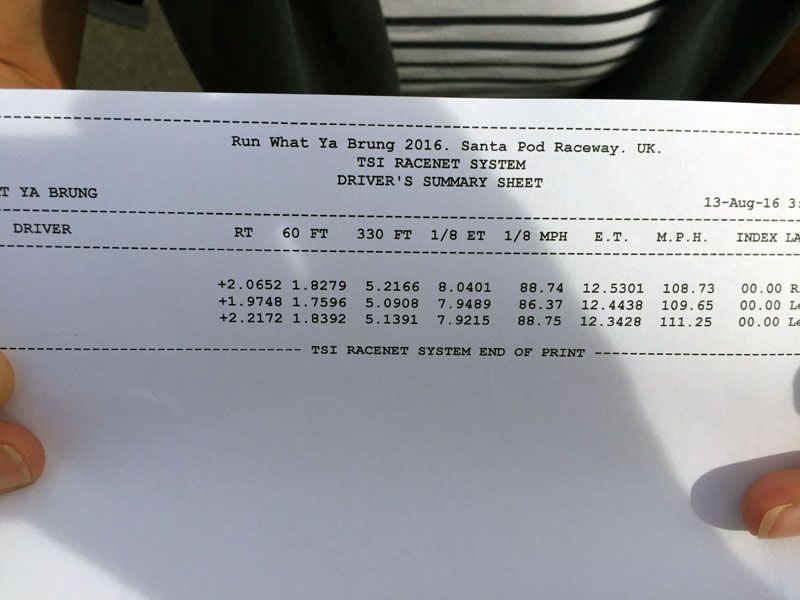
Of course I was hoping I could achieve a better time overall at either event, but all things considered it’s bloody quick for a stock hatchback.  As a comparison my previous A45 was no quicker down the strip when it had a Tuning Box fitted (running 12.2s).  Stock, the A45 runs around a 12.7s quarter.


At the end of the day this provides a baseline…… future times will be a good comparison.


I hope to be back down the strip in September once I’ve added the first round of mods.


#16
Shaunee

Shaunee

    Valued Club Member

  • Valued Member
  • PipPipPip
  • 609 posts

Guys,

Thanks for your positive comments - I really appreciate you taking the time. :)


#17
Danny

Danny

    Valued Club Member

  • Valued Member
  • PipPipPip
  • 684 posts

Really enjoyed reading this. Looking forward to more.


#18
Rs3443

Rs3443

    Member

  • Valued Member
  • PipPip
  • 24 posts

Mate this is bloody awesome , keep it all coming  :)


#19
bdave

bdave

    Newbie

  • Members
  • Pip
  • 1 posts
Excellent info and step by step, much appreciated.

#20
davemul

davemul

    Valued Club Member

  • Valued Member
  • PipPipPip
  • 396 posts

Subscribed! Jolly good thread


  :black: 
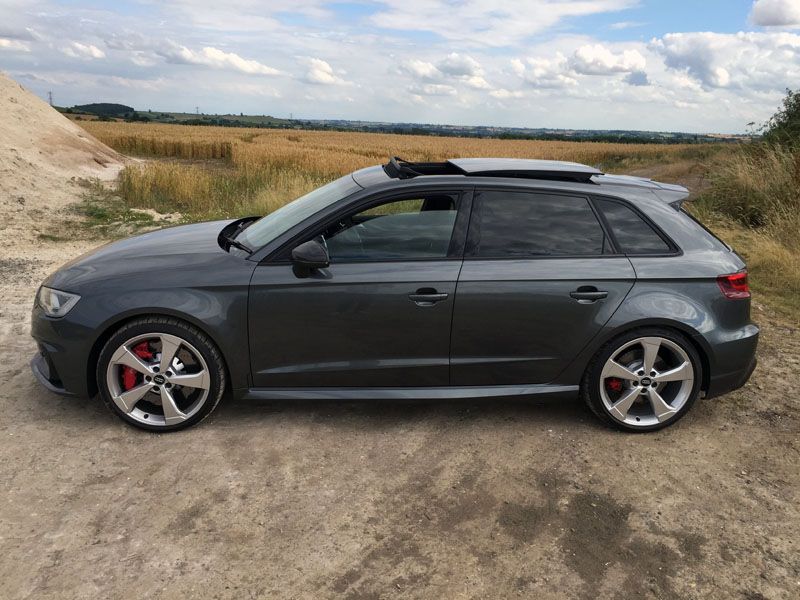
2016 BLACK/ALU RS3 avec a melange of options 


Reply to this topic


Audi RS3OC Forum is Powered by APR Motorsports UK
© 2013-2014 Audi RS3 Owners Club | All rights reserved | This club and forum is not officially associated with AUDI AG.